There is something deeply magical about nurturing a jar of wild yeast on your kitchen counter. The gentle, yeasty aroma, the bubbly pockets of air, and the promise of a golden, crackly crust are enough to make anyone fall in love with baking. However, if you are new to the world of fermentation, the math behind keeping your starter alive can feel a bit overwhelming.
When I first started my sourdough journey, I struggled to keep my starter consistent. Some days it would overflow the jar, while other days it sat sluggish and flat. Everything changed when I finally understood how feeding ratios work and started using a reliable sourdough starter ratio chart to guide my daily bakes.
Whether you want to bake a rustic boule this weekend or simply want to keep your starter healthy in the fridge, mastering these ratios is your key to success. Let’s break down the science of feeding your wild yeast so you can bake with absolute confidence.
What is a Sourdough Starter Ratio?
A sourdough starter ratio is a simple formula that tells you how much starter, flour, and water to mix together during a feeding. It is always written in the format of Starter : Flour : Water. Understanding this relationship helps you control how quickly your starter ferments and how acidic it becomes.
Bakers use parts or weight measurements, usually in grams, to keep these ratios precise. For example, a 1:1:1 ratio means you combine equal weights of your existing starter, fresh flour, and clean water. Using a kitchen scale is highly recommended because volume measurements like cups can vary wildly depending on how packed your flour is.
By adjusting these proportions, you can slow down or speed up the fermentation process to match your daily schedule. This flexibility means you do not have to be a slave to your baking jar; instead, the jar works around your lifestyle.
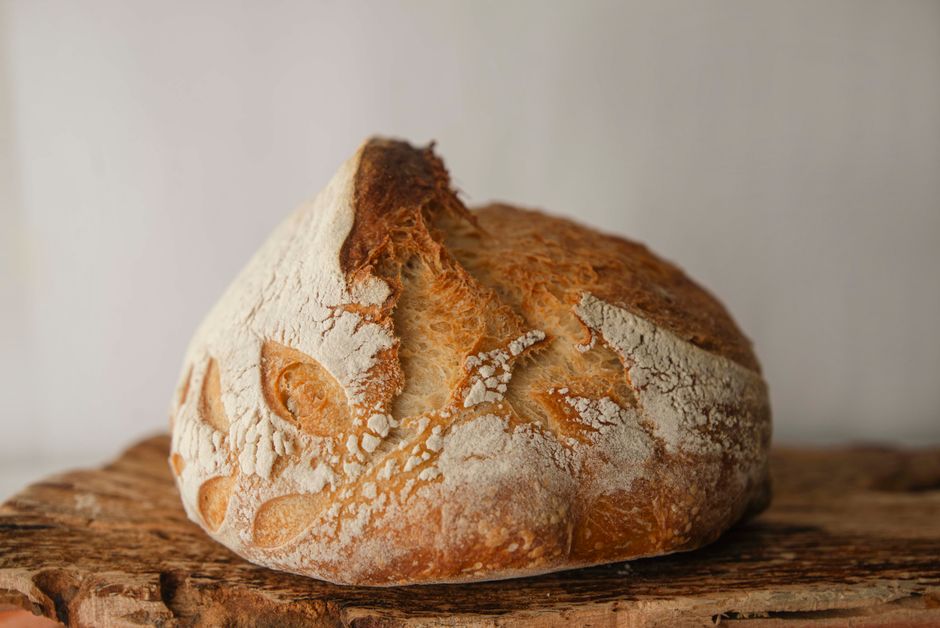
The Ultimate Sourdough Starter Ratio Chart
To make your baking journey easier, here is a handy sourdough starter ratio chart that outlines the most common feeding proportions. Each ratio serves a unique purpose depending on how often you bake and the temperature of your kitchen.
| Ratio (Starter:Flour:Water) | Example in Grams | Fermentation Speed | Best Used For |
|---|---|---|---|
| 1:1:1 | 20g starter : 20g flour : 20g water | Fast (3 to 5 hours) | Daily maintenance, quick builds, cool kitchens |
| 1:2:2 | 20g starter : 40g flour : 40g water | Moderate (5 to 8 hours) | Warm weather maintenance, overnight levain builds |
| 1:3:3 | 20g starter : 60g flour : 60g water | Slow (8 to 12 hours) | Preparing a strong levain, managing moderate acidity |
| 1:5:5 | 10g starter : 50g flour : 50g water | Very Slow (12 to 18 hours) | Long overnight rises, neutralizing sour flavors, hot climates |
As you can see from this sourdough starter ratio chart, the more fresh food (flour and water) you give to your starter, the longer it takes to consume it. This simple rule allows you to control the peak activity time of your yeast with incredible precision.
Understanding the 1:1:1 Ratio (The Maintenance Standard)
The 1:1:1 ratio is the classic starting point for most bakers. It is incredibly straightforward to calculate and works beautifully for daily feedings on your kitchen counter. Because the ratio of starter to new food is relatively high, the wild yeast will consume the fresh flour quickly.
If your kitchen is cool, this ratio ensures your starter rises and peaks within a reasonable timeframe. However, if you leave a 1:1:1 starter in a warm room, it may run out of food quickly and develop a strong, vinegary aroma. Keep this in mind when planning your baking day.
Decoding the 1:2:2 and 1:5:5 Ratios (The Slow Feeders)
When you want to feed your starter before bed and have it ready to bake first thing in the morning, the 1:2:2 or 1:5:5 ratios are your best friends. By giving the yeast a larger meal, you delay the peak activity time. This ensures your starter does not rise, collapse, and become hungry while you are asleep.
The 1:5:5 ratio is also excellent for reducing the harsh acidity in your starter. If your yeast has been sitting in the refrigerator for a few weeks and smells strongly of alcohol, a couple of high-ratio feedings will refresh its flavor. It encourages a sweet, clean, and yeasty profile that translates into a milder sourdough loaf.
High-Hydration vs. Low-Hydration Ratios
Most home bakers prefer a 100% hydration starter, which means the weight of the water always equals the weight of the flour. This is the standard represented in our sourdough starter ratio chart. It is easy to mix, easy to calculate, and yields a thick, batter-like consistency.
However, you can also experiment with stiff starters (around 50% to 60% hydration) by cutting the water amount in half. Stiff starters ferment more slowly, hold their peak longer, and tend to promote a more lactic, buttery flavor profile. They are particularly popular in traditional Italian baking for enriched doughs like panettone.
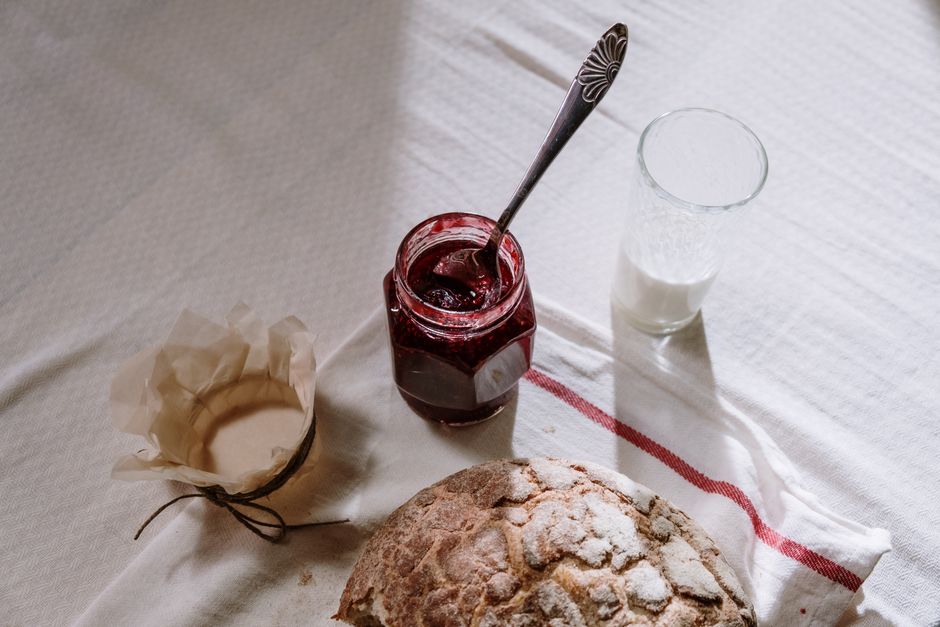
How to Use the Sourdough Starter Ratio Chart in Your Daily Baking
To put the sourdough starter ratio chart into practice, you need to consider two main variables: kitchen temperature and your personal schedule. Warm temperatures accelerate fermentation, while cool temperatures slow it down to a crawl.
If your kitchen is around 75°F to 80°F in the summer, a standard 1:1:1 feed might peak in just three hours. To prevent it from collapsing too quickly, you should scale up to a 1:3:3 or 1:4:4 feed to extend that window. In the winter, when indoor temperatures drop, stick to the 1:1:1 ratio to keep things moving.
Always watch the physical signs of your starter rather than relying solely on the clock. Look for a domed top, active bubbling throughout the jar, and a sweet, slightly tangy aroma. When the surface starts to flatten out or show signs of dipping, it has reached its peak and is ready to be mixed into your dough.
Everyday Sourdough Starter Levain Build
Ingredients
- 20 grams active sourdough starter (discard the rest or save for baking)
- 40 grams unbleached bread flour
- 40 grams lukewarm water (filtered, about 78°F)
Instructions
- In a clean glass jar, weigh out 20 grams of your active starter using a digital kitchen scale.
- Add 40 grams of lukewarm filtered water to the jar. Stir gently with a spoon or spatula until the starter is completely dissolved and the mixture looks milky.
- Add 40 grams of unbleached bread flour to the jar. Stir thoroughly, scraping down the sides, until no dry pockets of flour remain. The consistency should resemble a thick paste.
- Place a lid loosely on the jar or cover it with a damp cloth. Mark the initial height of the mixture with a rubber band around the outside of the jar.
- Let the jar sit in a warm spot (70°F–78°F) for 6 to 8 hours. Once it has doubled or tripled in volume and shows a bubbly, domed surface, it is ready to be used in your bread recipe.
Tips & Variations
- Flour Choices: You can substitute half of the bread flour with whole wheat or dark rye flour for a more robust flavor and faster fermentation.
- Water Quality: Avoid using heavily chlorinated tap water, as it can inhibit the growth of wild yeast and beneficial bacteria.
- Adjusting the Ratio: If you need your levain to peak faster, use a 1:1:1 ratio (e.g., 30g starter, 30g flour, 30g water). It should be ready in 3 to 4 hours.
Storage
If you are not ready to bake once the starter peaks, place the jar directly into the refrigerator. The cold temperature will preserve its strength for up to a week before it needs another feeding.
Nutrition (per serving)
Estimated: 120 calories, 25g carbohydrates, 4g protein, 0g fat.
Troubleshooting Your Sourdough Starter Ratios
Even with a clear sourdough starter ratio chart, you might run into a few bumps along the road. The most common issue bakers face is a watery layer sitting on top of their starter. This liquid is called “hooch,” and it is a clear sign that your starter is starving and needs a larger feeding ratio.
If you regularly find hooch on your starter, try moving from a 1:1:1 ratio to a 1:2:2 or 1:3:3 ratio. This provides more food for the yeast population, keeping them satisfied for a longer period. It also reduces the buildup of alcohol and acid that can weaken your gluten structure during baking.
Another common issue is a starter that refuses to rise. If this happens, ensure you are using unchlorinated water and high-quality, unbleached flour. Sometimes, a temporary return to a 1:1:1 ratio with a touch of whole wheat flour is all it takes to kickstart the activity again.
Creative Ways to Use Sourdough Discard in Sweet Bakes
Whenever you feed your starter using a sourdough starter ratio chart, you will inevitably end up with discard. Instead of throwing this precious mixture down the drain, you can use it to add depth, moisture, and complexity to a variety of sweet treats.
Sourdough discard pairs beautifully with bananas, spices, and sweet batters. While you wait for your main starter to bubble and rise, you can easily whip up a comforting banana bread recipe bisquick style for a fast, delicious treat. If you prefer a richer caramel undertone in your morning slices, try adapting a classic banana bread recipe brown sugar option by folding in a half cup of your unfed discard.
For those who love an incredibly tender crumb, utilizing dairy is a fantastic trick. You can substitute some liquid in a banana bread recipe greek yogurt bake with your discard to yield a melt-in-your-mouth texture. Alternatively, the warm spices in a banana nut bread recipe with cinnamon blend wonderfully with the subtle tang of wild yeast. You can even experiment with pantry staples by trying a unique banana bread with mayonnaise recipe that keeps your loaves moist for days.
Frequently Asked Questions (FAQs)
Why do I need to discard starter before feeding?
If you do not discard a portion of your starter before feeding, the volume will grow exponentially with every feed. You would quickly need gallons of flour and water to maintain the correct ratios, which is both wasteful and impractical.
Can I feed my starter without a scale?
Yes, you can feed your starter using volume measurements, but it is less precise. Generally, a 1:1:1 ratio by weight translates roughly to 1 part starter, 1 part water, and slightly less than 2 parts flour by volume.
What is the best flour for feeding a sourdough starter?
Unbleached bread flour, whole wheat flour, and rye flour are all excellent choices. Rye flour is particularly rich in nutrients and wild microbes, making it perfect for boosting a sluggish starter.
How long can a starter survive in the fridge without feeding?
A mature, healthy starter can easily survive in the refrigerator for 2 to 4 weeks without a feed. When you are ready to bake again, take it out and give it one or two feedings using the sourdough starter ratio chart to restore its strength.
What temperature is best for fermenting sourdough starter?
The sweet spot for sourdough fermentation is between 70°F and 80°F. If your house is cooler than this, you can place your jar inside an turned-off oven with the oven light switched on.
Conclusion
Mastering your sourdough starter does not require a degree in chemistry. By keeping a simple sourdough starter ratio chart in your kitchen, you gain complete control over your wild yeast’s schedule, flavor, and rising power. Whether you are baking daily or once a week, these simple ratios will help you achieve the perfect rise every single time. Happy baking!
