There is nothing quite like the comforting aroma of freshly baked banana bread wafting through the kitchen on a lazy Sunday morning. For years, my kitchen counter would be cluttered with mixing bowls, whisks, potato mashers, and measuring cups every time I wanted to whip up this classic treat. That all changed the day I experimented with throwing everything directly into my high-speed blender.
This modern twist on a beloved classic has completely transformed my baking routine. Not only does it save precious time, but it also minimizes the dreaded post-baking cleanup. If you are looking for a foolproof way to turn those overripe, spotty bananas on your counter into a masterpiece, you have come to the right place.
In this comprehensive guide, we will explore the science and art behind the perfect blender banana bread recipe. We will cover everything from ingredient selection to troubleshooting, ensuring your loaf turns out perfectly golden brown, moist, and fluffy every single time. Grab your blender, and let’s get baking!
Why You Will Love This Easy Blender Banana Bread Recipe
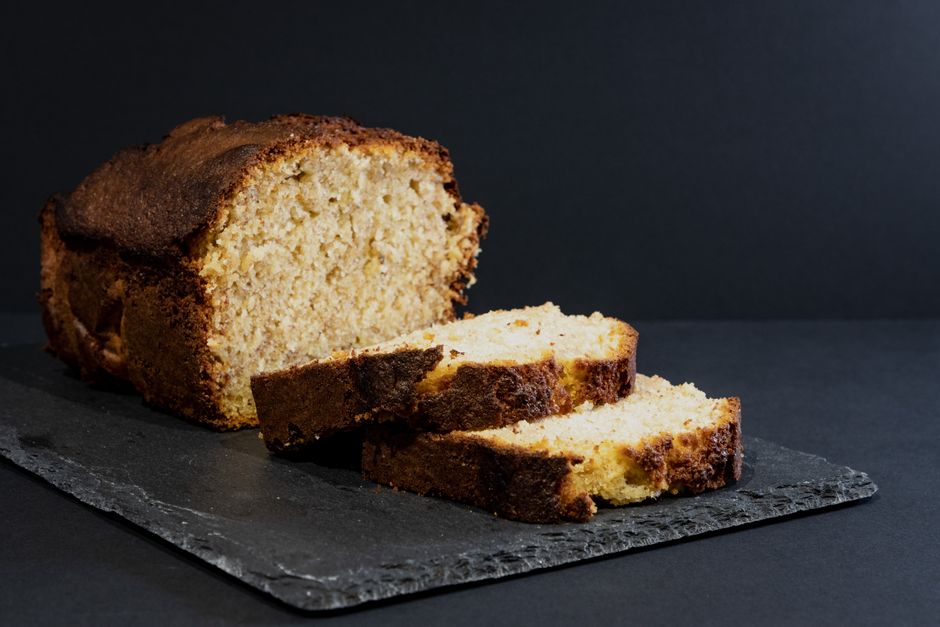
The beauty of this recipe lies in its sheer simplicity. Traditional baking often requires separate bowls for wet and dry ingredients to prevent over-mixing, but a blender simplifies the process into a few quick pulses. By blending the wet ingredients first, you create a smooth, emulsified base that easily incorporates the dry ingredients.
Another reason to love this method is the texture it produces. The blender breaks down the bananas completely, distributing their natural sugars and moisture evenly throughout the batter. This results in an incredibly moist crumb that stays fresh for days without drying out.
Finally, this recipe is highly adaptable. Whether you want to sneak in some healthy rolled oats, toss in a handful of dark chocolate chips, or swap out the dairy, the blender handles it all with ease. It is truly a one-appliance wonder that will make you rethink traditional baking methods forever.
The Secret to the Perfect Blender Banana Bread
Achieving the perfect texture in a blender requires a basic understanding of how ingredients interact. When you blend wheat flour, you risk developing too much gluten, which can make your banana bread dense and rubbery. To avoid this, we use a specific layering technique and pulse the dry ingredients just until they are combined.
The ripeness of your bananas is also crucial. You want bananas that are heavily speckled with brown spots, or even completely black. These bananas are not only sweeter because their starches have converted to sugar, but they are also softer and blend into a silkier puree.
If your bananas are not quite ripe enough, you can roast them in their skins at 300°F (150°C) for 15-20 minutes until they turn black and soft. This concentrates their natural sugars and mimics the texture of naturally overripe bananas, saving your baking day. Never use green or firm yellow bananas, as they lack the sugar content and moisture needed for a tender loaf.
Ingredients You Will Need
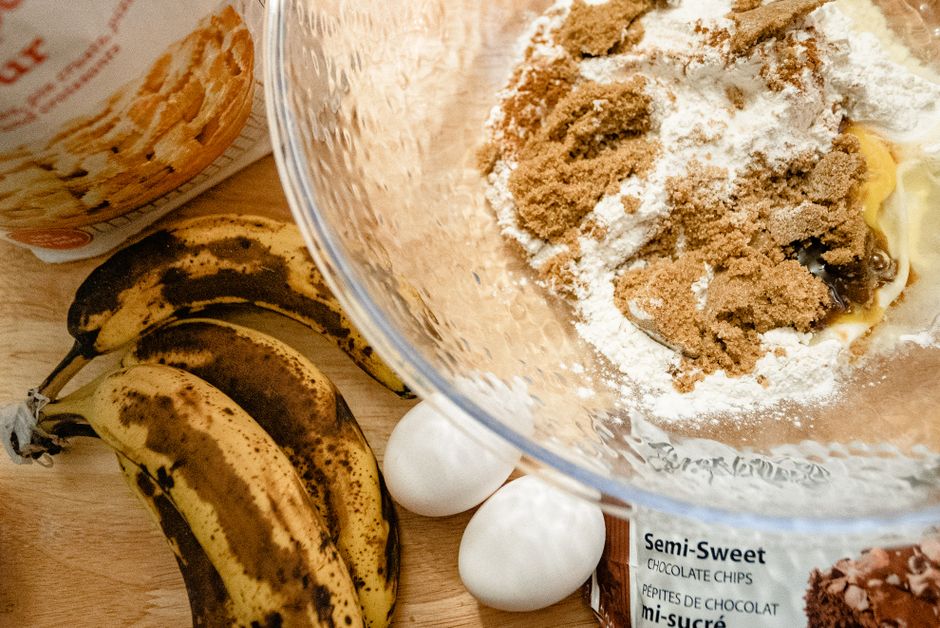
To create this delicious loaf, you will need a handful of simple pantry staples. The foundation of this recipe relies on ripe bananas, eggs, a fat source, a sweetener, and flour or oats. Each ingredient plays a vital role in balancing the structure, moisture, and flavor of the bread.
While some quick-bread bakers prefer a shortcut like a banana bread recipe bisquick version, making it from scratch in a blender is just as fast and allows for better ingredient control. We will be using whole rolled oats or all-purpose flour as our structural base today.
For the fat, you can use melted butter, coconut oil, or even vegetable oil. Each choice brings a slightly different flavor profile and crumb texture to the finished product. We will also use eggs to bind the ingredients together and provide rise, along with baking soda as our leavening agent to keep it light and airy.
Step-by-Step Guide to Blender Banana Bread
Before you begin, gather all your ingredients and preheat your oven to 350°F (175°C). Grease a standard 8.5 x 4.5-inch loaf pan or line it with parchment paper for easy removal. Preparing your pan beforehand ensures the batter can go straight into the oven as soon as it is blended, which helps the baking soda activate properly.
Start by adding your liquid and wet ingredients to the blender first. This includes the ripe bananas, eggs, melted fat, and vanilla extract. Blending these first creates a liquid vortex at the bottom of the jar, which helps draw down the dry ingredients without stalling the motor of your blender.
Once the wet ingredients are completely smooth, add the dry ingredients on top. Pulse the blender in short bursts—about 5 to 7 times—just until the flour or oats disappear. Over-blending at this stage will activate the gluten and result in a tough, heavy loaf. Gently fold in any chocolate chips or nuts by hand using a spatula before pouring the batter into your prepared pan.
Easy Blender Banana Bread
Ingredients
- 3 medium ripe bananas (heavily speckled)
- 2 large eggs
- 1/2 cup unsalted butter, melted (or coconut oil)
- 1/2 cup granulated sugar (or honey/maple syrup)
- 1 teaspoon vanilla extract
- 2 cups rolled oats (or 1 1/2 cups all-purpose flour)
- 1 teaspoon baking soda
- 1/2 teaspoon salt
- 1/2 cup chocolate chips or chopped walnuts (optional mix-ins)
Instructions
- Preheat your oven to 350°F (175°C) and grease an 8.5 x 4.5-inch loaf pan.
- Add the bananas, eggs, melted butter, sugar, and vanilla extract to your blender. Blend on medium speed until completely smooth.
- Add the rolled oats (or flour), baking soda, and salt to the blender.
- Pulse the mixture 5 to 8 times, just until the dry ingredients are incorporated. Do not over-blend.
- If using mix-ins, remove the blender jar from the base and gently fold in the chocolate chips or walnuts with a spatula.
- Pour the batter into the prepared loaf pan and smooth the top.
- Bake for 45 to 55 minutes, or until a toothpick inserted into the center comes out clean.
- Let the bread cool in the pan for 10 minutes, then transfer to a wire rack to cool completely before slicing.
Tips & Variations
- Oat Flour Texture: If using rolled oats, blending them will create a dense, hearty texture similar to cake. For a lighter loaf, use all-purpose flour.
- Spice it up: Add 1 teaspoon of ground cinnamon and a pinch of nutmeg to the dry ingredients for a warm, spiced flavor.
- Sweetener Swap: You can reduce the sugar to 1/3 cup if your bananas are extremely ripe and sweet.
Storage
Store the bread in an airtight container at room temperature for up to 3 days, or in the refrigerator for up to 7 days. You can also freeze slices wrapped in plastic wrap for up to 3 months.
Nutrition (per serving)
Calories: 230 | Carbohydrates: 32g | Protein: 5g | Fat: 10g | Sodium: 210mg | Fiber: 3g
Customizing Your Blender Banana Bread
One of the most exciting parts of baking banana bread is making it your own with fun mix-ins and spices. If you love warm, cozy flavors, you can easily adapt this into a classic banana nut bread recipe with cinnamon. Simply add a teaspoon of ground cinnamon to the blender and fold in toasted chopped walnuts or pecans at the end.
For chocolate lovers, folding in semi-sweet chocolate chips or chunks before baking creates pockets of melted chocolate in every bite. You can also sprinkle a few extra chocolate chips on top of the batter before it goes into the oven for a beautiful, bakery-style finish. The heat of the oven caramelizes the chocolate and banana toppings beautifully.
If you want to add a tropical twist, try folding in shredded coconut and chopped macadamia nuts. The sweetness of the banana pairs wonderfully with the nutty coconut flavor. You can even swirl in a tablespoon of peanut butter or Nutella directly into the batter once it is in the pan for a marbled effect that looks as good as it tastes.
Alternative Ingredients and Dietary Substitutions
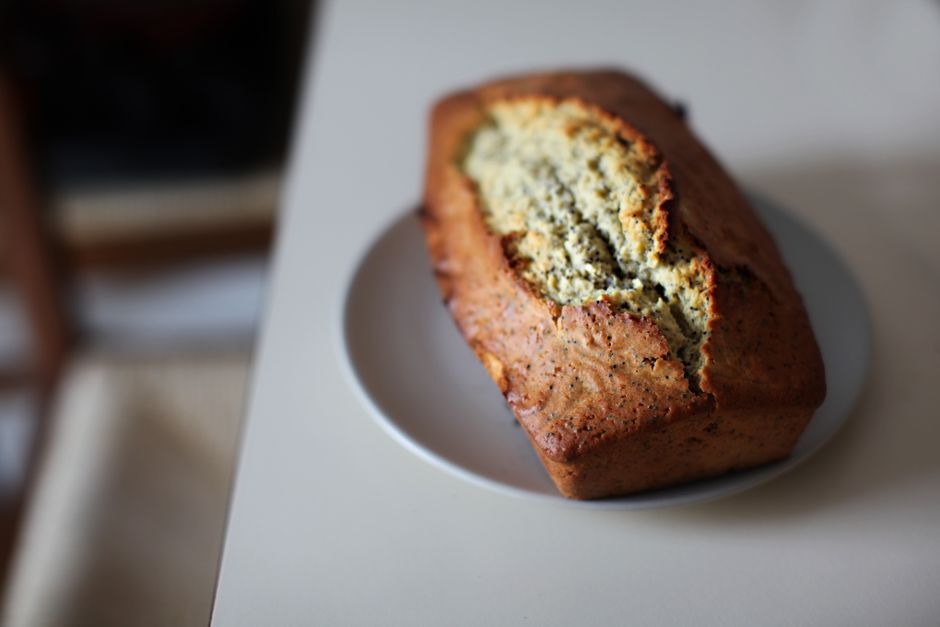
This blender banana bread recipe is incredibly forgiving, making it easy to adapt for various dietary needs. If you are looking for a gluten-free option, you can use certified gluten-free rolled oats instead of wheat flour. The blender will grind the oats into a fine flour as it mixes, creating a hearty, gluten-free loaf without the need for expensive specialty flours.
For those who prefer different sweeteners, you can substitute granulated sugar with maple syrup, honey, or a banana bread recipe brown sugar alternative to give the bread a deeper, caramel-like undertone. Brown sugar adds extra moisture, which helps keep the bread soft for days.
If you want to reduce the fat content while maintaining a tender crumb, you can explore a banana bread recipe greek yogurt swap by replacing half of the butter or oil with plain Greek yogurt. Alternatively, some traditional southern bakers swear by a banana bread with mayonnaise recipe to achieve unparalleled moisture. While we use standard fats in our blender recipe, these variations show just how versatile banana bread chemistry can be.
Troubleshooting Common Blender Banana Bread Issues
Even with a simple recipe, baking can sometimes throw you a curveball. If your banana bread turns out too dense or gummy in the center, it is likely because the batter was over-mixed in the blender. Remember to pulse the dry ingredients just until they are incorporated; do not let the blender run continuously once the flour is added.
Another common issue is a loaf that rises beautifully in the oven but collapses in the center as it cools. This usually happens if the baking soda is expired or if the bread was taken out of the oven too early. Always test the center of the loaf with a toothpick; it should come out clean or with a few moist crumbs, but no wet batter.
If your blender stalls while mixing the ingredients, it is usually because there is not enough liquid at the bottom. Always layer your ingredients starting with the wet items (bananas, eggs, oil) at the bottom and the dry items (flour, sugar, oats) on top. If it still struggles, stop the blender and stir the ingredients manually with a spatula before pulsing again.
How to Store and Freeze Blender Banana Bread
Once your banana bread has cooled completely on a wire rack, proper storage will keep it tasting fresh. To store it at room temperature, wrap the loaf tightly in plastic wrap or place it in an airtight container. It will remain moist and delicious for up to three days on your counter.
If you want it to last longer, you can store the wrapped loaf in the refrigerator for up to a week. Keep in mind that refrigeration can sometimes dry out baked goods, so you may want to toast individual slices before serving to restore their soft, warm texture.
Banana bread also freezes beautifully. You can freeze the entire loaf or slice it beforehand for easy portion control. Wrap the slices individually in plastic wrap, place them in a freezer-safe bag, and freeze for up to three months. Pop a frozen slice directly into the toaster or toaster oven for a quick and warm breakfast on busy mornings.
Frequently Asked Questions (FAQ)
Can I make this recipe without a high-speed blender?
Yes, you can use a standard blender or even a food processor. If your blender is less powerful, you may need to stop and scrape down the sides a few times to ensure the oats or flour are fully incorporated without overworking the motor.
Can I make this recipe vegan?
Absolutely. To make this vegan, swap the eggs for two flax eggs (2 tablespoons of ground flaxseed mixed with 5 tablespoons of water, left to sit for 5 minutes). Use melted coconut oil or vegan butter in place of dairy butter.
Why did my banana bread turn out rubbery?
A rubbery texture is a classic sign of over-mixing. Blending the flour for too long activates the gluten proteins, creating a tough structure. Next time, pulse the dry ingredients only a few times until they barely disappear into the wet mixture.
Can I make muffins instead of a loaf?
Yes! This batter makes excellent muffins. Pour the batter into a greased muffin tin and bake at 350°F (175°C) for 18 to 22 minutes, or until a toothpick inserted into the center comes out clean.
Conclusion
Baking does not have to be a complicated chore filled with endless dishes to wash. This blender banana bread recipe proves that you can achieve a bakery-quality loaf with minimal effort and cleanup. By using your blender to emulsify the wet ingredients and gently combine the dry ones, you get a consistently moist, flavorful, and fluffy bread every time.
Whether you stick to the classic recipe or customize it with nuts, spices, or chocolate chips, this method is sure to become a staple in your kitchen. The next time you see those bananas turning brown on your counter, don’t hesitate. Grab your blender, preheat your oven, and enjoy the simple pleasure of homemade banana bread.
